The Reservation Screen is where all the reservations are taken, modified, seated and confirmed.
There are 3 different Reservation screens, which are outlined as follows:
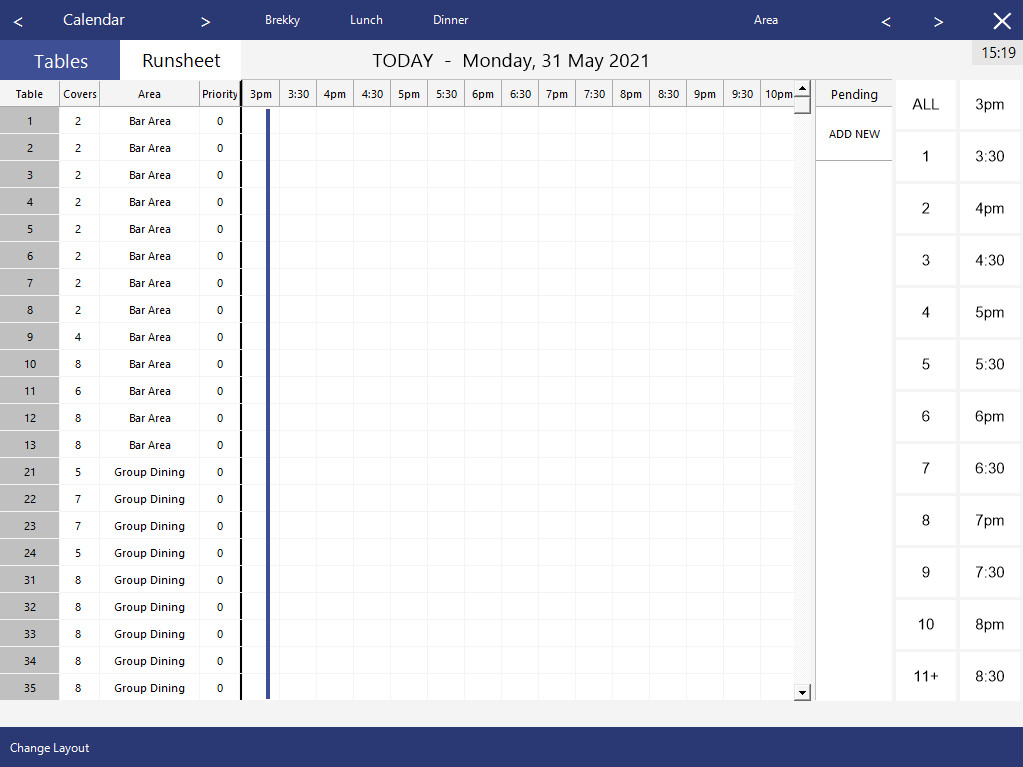
The Calendar View is an accumulation of many different areas.
Pressing the <> arrow buttons displayed on either side of the Calendar button will move the reservation a day ahead or back.
Choosing a date other than the current day will display an extra button "Return to Today", to enable you to quickly return to “TODAY”.

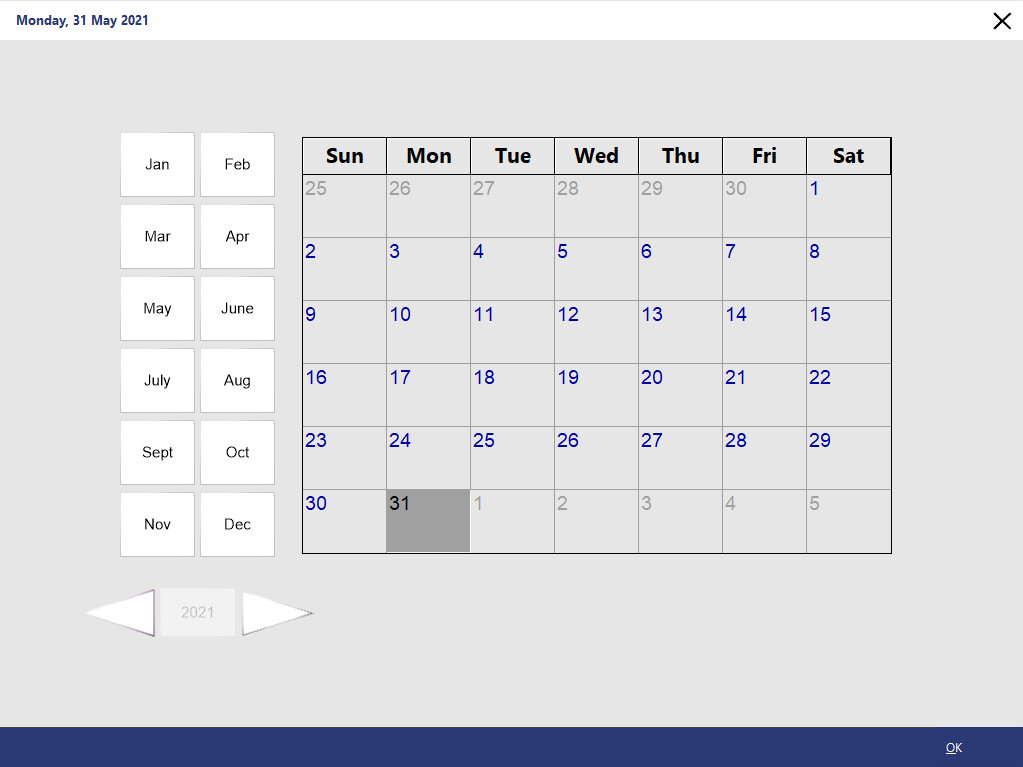
Pressing the Calendar button will open a calendar where you can select the Year, Month and Day to arrive at the required date.
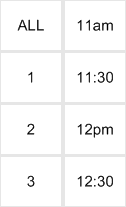
Select the Session the reservation is to be made in by pressing the button.
The Session will change on the selected date.
There can be up to 5 sessions covering the entire day which can be configured by going to: Back Office > Setup > Global Options > Restaurant > Sessions.

Jump 2 hours ahead at any time by selecting the far right arrows.

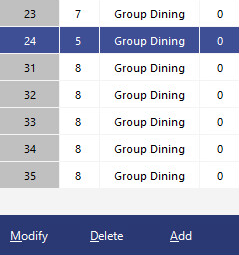
You can Modify, Delete or Add Tables by highlighting them in the list.
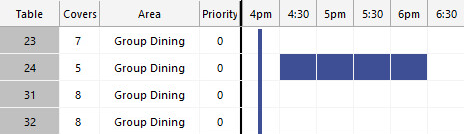
Select the Table to the corresponding time in the Time Grid.
The Day and Date that the reservation will be made is displayed at the top of the window.

You can change the Area currently being used.
It will scroll through the areas created as well as All Areas.

Change Layout will change where the tables reside and delete ALL Reservations for the day selected.


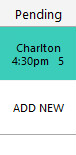
If you want to organise the dining room after taking all reservations, you can save them as Pending Reservations.
This will enable you to move them to the required position as you arrange the room.
To move an existing reservation over to Pending Reservations, select the reservation from the grid, then press the "Move to Pending" button on the bottom-right corner of the window.
You can fast add a reservation by selecting the amount of Covers and then a Time, and the first prioritised table that matches the criteria will be displayed for reservation.
The bottom display will show the Time, Covers and Table selected for a Reservation.
Press the Reserve button to add the reservation to the list.
If the selected time is reserved, this section will display other functions.


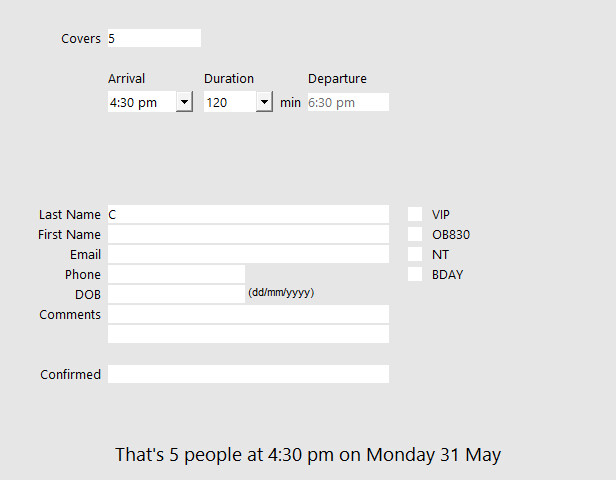
The detail view is split into 2 main sections with an on screen keyboard to allow entry of reservations from a touch screen.
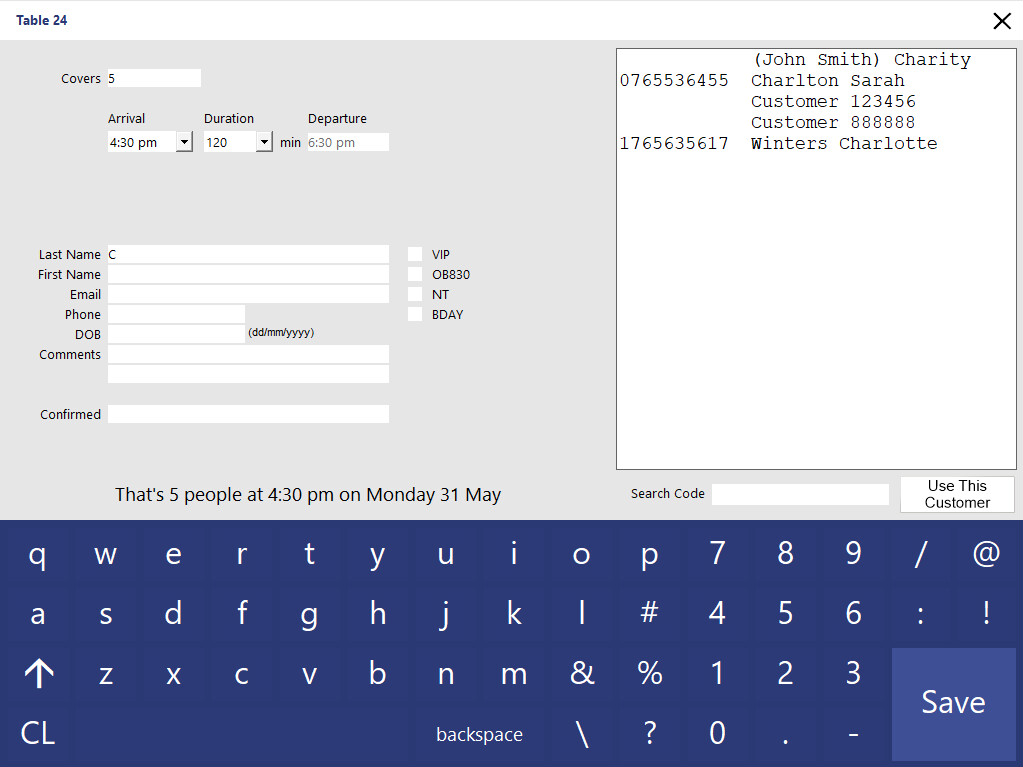
Reservation Details section will display all details of the current reservation, where they can be changed and added to at any time until the reservation is either cancelled or the guests are seated.
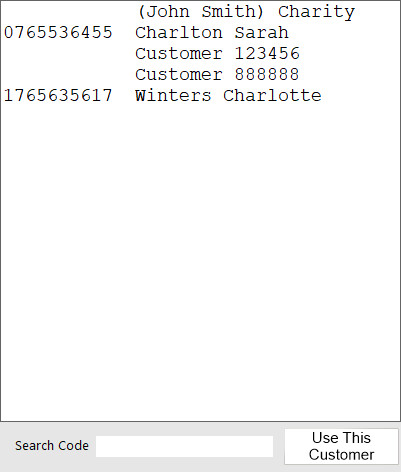
While searching for a customer, the screen will show all other names that may match.
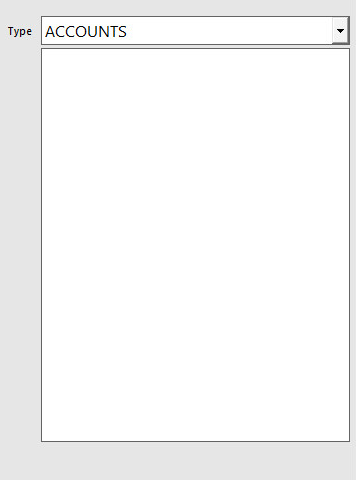
Once a customer has been selected, it will display their Customer Type and any previous sales.
The Runsheet can be accessed by pressing the Runsheet button (located to the right of the Tables button at the top of the Reservations window).
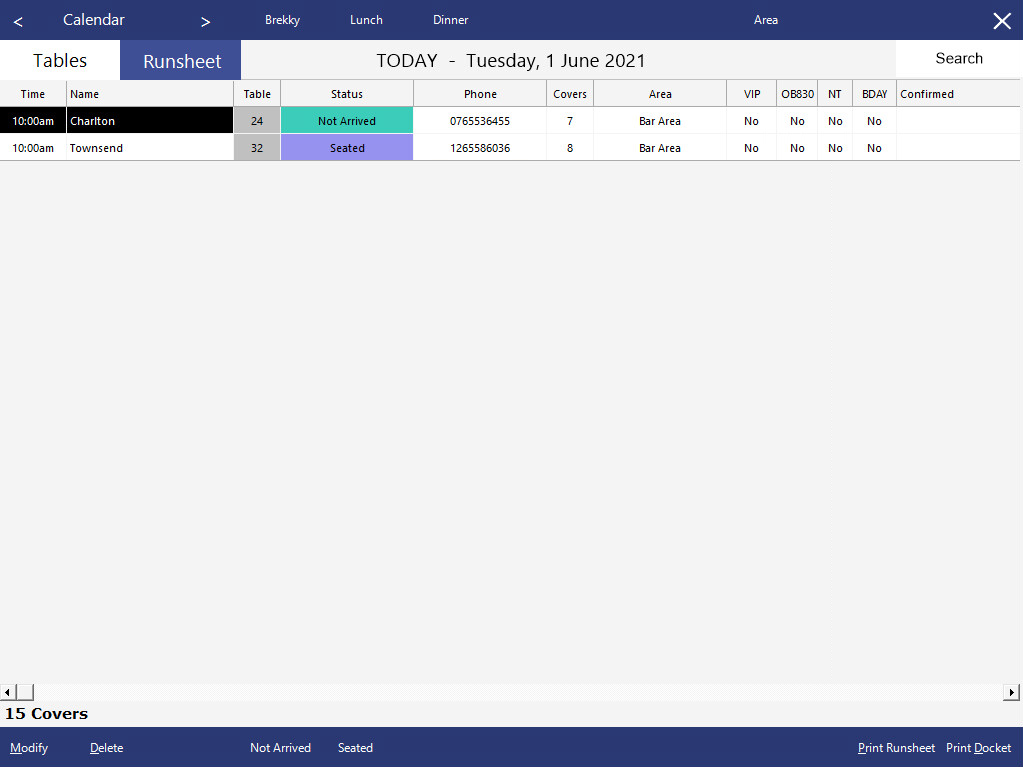
Refer to the Runsheet section in the Using Reservations page for further information about using the Runsheet.